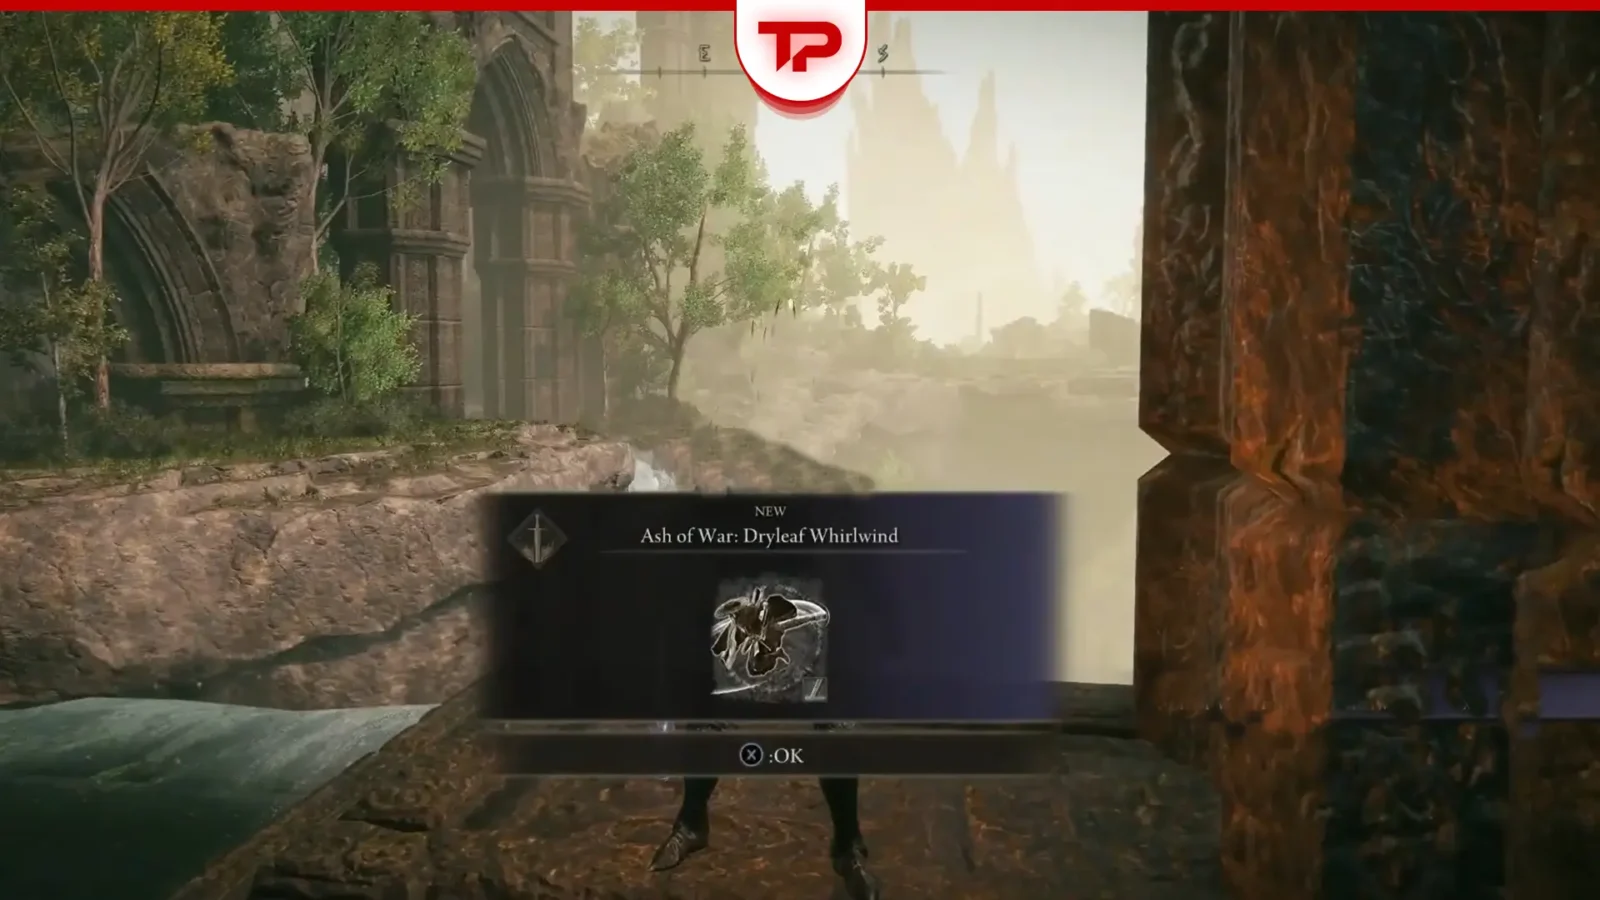
Dryleaf Whirlwind is an Ash of War for Hand-to-Hand weapons in Shadow of the Erdtree. Its sequence combines airborne spinning kicks with a finishing strike. The source guide lists a cost of 9 FP. If you want to try this style, first make sure you have a compatible weapon; collecting the skill does not make it available to every weapon in your inventory.

Use Rauh Ancient Ruins, East as the starting point
The route begins at the Rauh Ancient Ruins, East Site of Grace. From there, travel northeast, pass the broken pillar, and look for the item by the cliff. The map image is useful for identifying the general destination, while the pillar provides a landmark you can recognize on the ground.
Separate the journey to the region from this final approach. If you have not reached this Site of Grace, this guide should be treated as the pickup instructions for later, not a complete walkthrough into Rauh. Mark the destination and return when your exploration has brought you to the starting point.
Make the final approach slowly
- Confirm the Site of Grace name before leaving.
- Orient northeast and locate the broken pillar.
- Approach the cliff with room to stop and turn.
- Collect the item and confirm its name in the pickup message or inventory.
A cliffside destination is a poor place to combine navigation with unfamiliar movement inputs. Keep the camera focused on the next safe piece of ground. If an enemy interrupts the approach, deal with the immediate threat or move to safer ground before continuing to search for the item.
Check the skill on a compatible weapon
After collecting it, inspect your Hand-to-Hand weapon and the Ash of War options available to it. If Dryleaf Whirlwind is missing from the list, check the weapon category before assuming the pickup failed. The category restriction is central to this skill, not an incidental detail.
Read the current in-game description and cost as part of the setup. The 9 FP figure is a source reference, not a promise that every future update or equipment interaction will behave identically. Avoid building an entire strategy around a number you have not checked in your own equipment screen.

Understand the whole kick sequence
Try the move in a familiar encounter and watch the complete sequence. Ask where the opening kicks connect, where the finishing strike lands, and what position you occupy afterwards. Seeing one hit connect is not enough to know whether the whole action fits a particular opening.
Use a repeatable starting distance when comparing attempts. If you change distance and equipment together, it becomes difficult to tell whether a better result came from the skill, the setup, or simply a cleaner approach. Keep an ordinary attack available for moments when you cannot commit to the full sequence.
Choose supporting equipment with a specific goal
The source suggests looking at effects that support repeated hits or skill damage. Treat those as directions for comparison, rather than a complete best-in-slot build. Read each effect and decide which part of your plan it is supposed to improve. You do not need to change every equipment slot simply because you acquired a new move.
Before a difficult fight, make a short plan: the opening in which you will use Whirlwind, the FP you want to reserve, and the action you will use when that opening is absent. That plan gives you something concrete to adjust after an unsuccessful attempt.

Related guides
- Choosing an Ash of War in Shadow of the Erdtree
- Get Crucible Wings from Black Knight Edredd
- Restore Godrick’s Great Rune at Limgrave Tower
Route and item references: TposeGaming. Additional planning advice is GameThrum editorial analysis; no independent playtest is claimed.