An early flask collection trip is easier to manage when it follows your existing exploration. Limgrave and the Weeping Peninsula offer several seed and church stops, but you do not need to connect them in a rigid order. Build the trip around the recovery upgrade you want and the landmarks you can already reach.
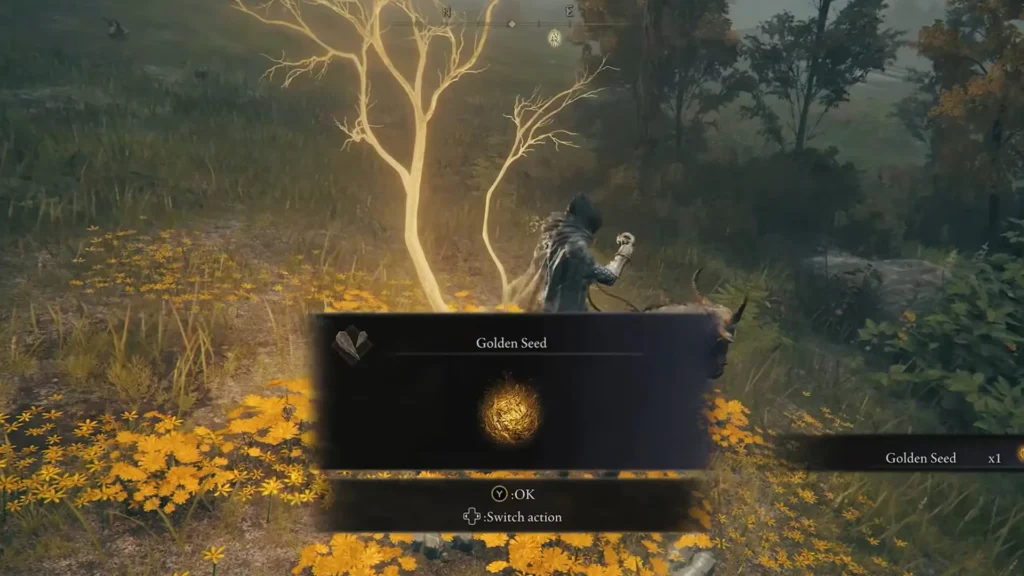
Begin with a two-column checklist
Separate Golden Seeds from Sacred Tears. Seeds increase the number of ordinary flask uses, while Tears improve restoration per use. Put each destination under the material it provides, then mark which nearby checkpoints you have available.
This simple separation prevents a common planning error: travelling to a church for a Tear while expecting another flask charge. It also shows when two nearby objectives improve different parts of your recovery, making a combined trip useful without pretending they are interchangeable.
Limgrave option: pair a church goal with a seed stop
The Third Church of Marika is in eastern Limgrave near Mistwood. Its interior rewards include a Sacred Tear and the Flask of Wondrous Physick, found by checking the statue and nearby stone bowl. Give the church two completion checks so that the first pickup does not hide the second.
Fort Haight is another eastern-Limgrave reference, with a Golden Seed outside its walls. Treat this as a separate exterior pickup, not an instruction to complete every objective inside the fort. If your current exploration already includes both areas, add both stops to the plan; this article does not claim a measured fastest route between them.

Stormhill option: take the nearby roadside seed
If you are exploring around Stormhill instead, the sapling on the road toward the shack is a useful seed objective. Begin there rather than crossing the region solely to follow the order of someone else’s checklist.
After collecting it, inspect the flask menu. If the pickup completes your next upgrade, apply that improvement before deciding whether another detour is worthwhile. A short trip that achieves its purpose can be a better use of the session than a larger circuit you do not finish.
Peninsula option: keep Callu and Castle Morne distinct
Callu Baptismal Church lies near Ailing Village. Its Sacred Tear is in front of the rear Marika statue, and frenzied rats affect the approach. Decide whether to clear the immediate threat or make a safe collection-and-exit attempt based on the situation you can see.
The selected peninsula Golden Seed is on raised ground near the road toward Castle Morne. Use the road and ridge as its references. The church and the seed have different local landmarks, so record each independently rather than writing only “peninsula flask trip complete.”

Choose the next stop by three questions
- Does it provide the material needed for the upgrade I want?
- Can I reach its named starting area with my current access?
- Does the approach fit the time and resources I have left?
If one answer is unclear, keep that location as a later objective. A collection guide does not require you to complete every listed destination in one sitting, and postponing a difficult branch does not undo the upgrades already obtained.
End the trip at the upgrade menu
Return to a Site of Grace, apply available improvements, and review the balance of HP and FP flask charges. If you collected the Physick, inspect its configuration using the Crystal Tears you own. Finish by updating the checklist with actual pickups and applied upgrades, so your next session begins with a clear result rather than a vague memory of places visited.
Related guides
- Three Golden Seed Stops Around Limgrave
- Third Church of Marika: An Early Flask Stop
- Collect the Sacred Tear at Callu Baptismal Church
Route and item references: TposeGaming 1 · TposeGaming 2 · TposeGaming 3. Additional planning advice is GameThrum editorial analysis; no independent playtest is claimed.