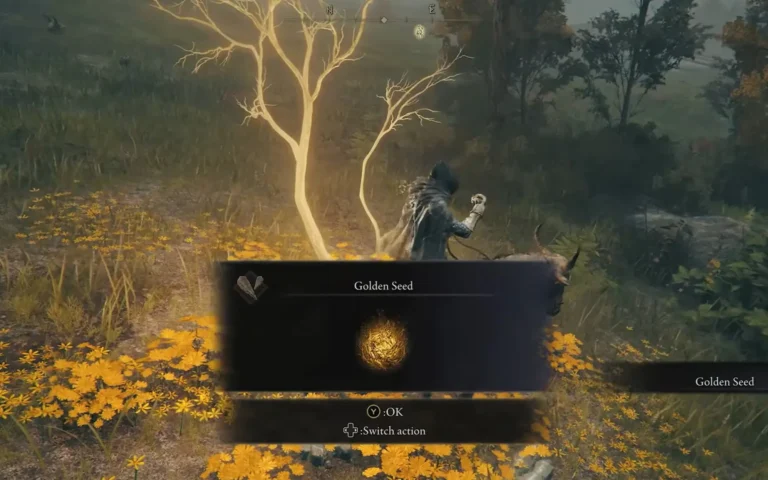
Elden Ring uses several similarly named items around flask upgrades, but they do different jobs. A Golden Seed adds ordinary flask charges, a Sacred Tear improves restoration per use, and Crystal Tears configure the Flask of Wondrous Physick. Start with that distinction before choosing a collection route. Otherwise, you can find the correct item and still expect the wrong result.

Golden Seeds: the number of uses
Choose a Golden Seed objective when the problem you want to address is the number of flask charges available. At a Site of Grace, the flask menu shows the requirement for the next increase. Check that requirement before leaving, especially if you already have some seeds in your inventory.
The Limgrave route provides three useful reference stops: Stormhill Road, outside Fort Haight, and the raised ground near the Castle Morne approach. These are selected stops rather than a promise that one circuit contains every seed you will need.
What the pickup does not prove
Collecting a seed is not the same as applying the upgrade. Return to the menu and confirm the increase when you have enough. If no extra use appears immediately after the pickup, first check the menu requirement instead of assuming the item failed.
Sacred Tears: restoration from each drink
A Sacred Tear improves the amount of HP and FP restored by ordinary recovery flasks. It is relevant when an individual use restores less than you would like. The Third Church of Marika and Callu Baptismal Church are two separately documented destinations for this material.
At the Third Church, inspect the statue and nearby stone bowl for the church’s rewards. At Callu, the Tear is in front of the rear statue, with frenzied rats to consider on the approach. The two locations require different navigation and should remain separate items on your checklist.
Apply the improvement at a Site of Grace after collecting the Tear. Do not measure success by looking only for a larger number of charges: that would be checking the effect of Golden Seeds rather than the improvement you just obtained.

Crystal Tears: the Physick configuration
The Flask of Wondrous Physick combines Crystal Tears into a chosen effect. You can collect the flask at the Third Church of Marika, but configuring it depends on the Crystal Tears available to your character. Read those descriptions rather than copying a later-game setup without checking your inventory.
A useful configuration begins with a purpose. Decide which situation the effect is intended to help, then choose among the options you actually own. The Physick is a separate tool in your plan, not another name for the ordinary flask upgrade menu.
Diagnose the problem before selecting a route
| What you notice | What to investigate |
|---|---|
| You run out of ordinary flask uses. | Golden Seeds and charge allocation. |
| Each ordinary drink restores too little. | Sacred Tears and restoration upgrades. |
| You want a selected additional effect. | Your Physick configuration and owned Crystal Tears. |
| You are hit while trying to recover. | The timing and position of the recovery action. |
The final row matters because an upgrade and a decision solve different problems. More resources do not automatically create a safe opening to drink. Review where you are standing and what the enemy is doing as part of the same preparation.

Check one change at a time
After an upgrade, revisit a familiar encounter with the rest of your approach reasonably stable. Notice what improved and what still causes trouble. This turns collection into a useful adjustment rather than an endless search for more items without a clear understanding of the limitation you are trying to fix.
Related guides
- Three Golden Seed Stops Around Limgrave
- Third Church of Marika: An Early Flask Stop
- Collect the Sacred Tear at Callu Baptismal Church
Route and item references: TposeGaming 1 · TposeGaming 2 · TposeGaming 3. Additional planning advice is GameThrum editorial analysis; no independent playtest is claimed.