Find the cave and understand the clue
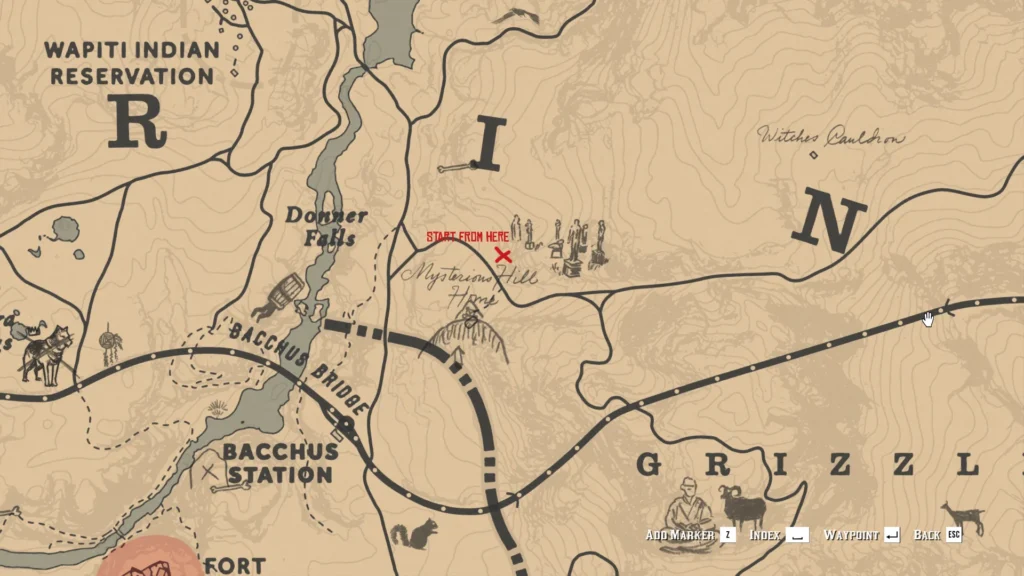
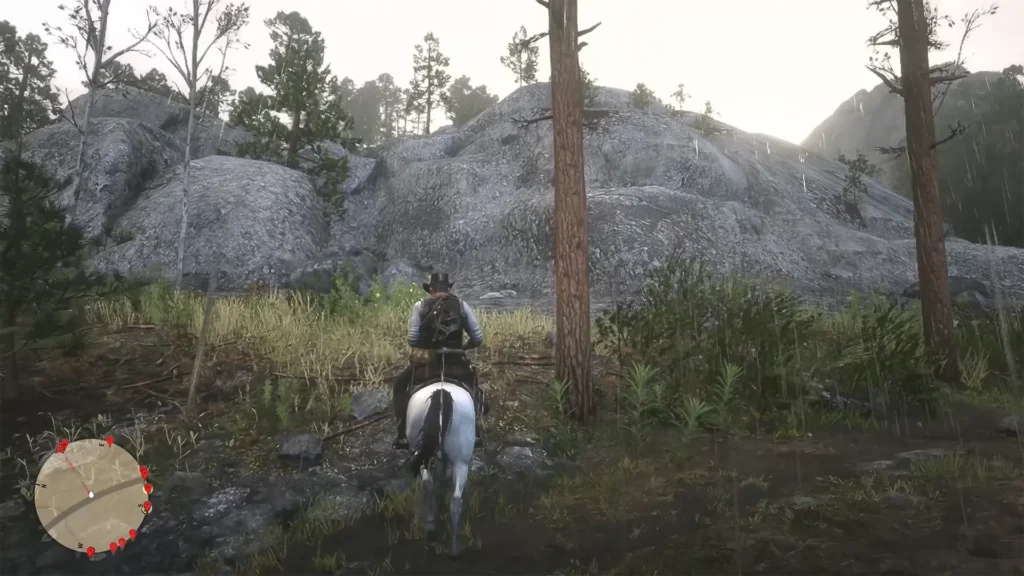
The Strange Statues cave lies east of Wapiti Reservation, below the I in AMBARINO on the map. Window Rock has an optional painting associated with the puzzle. The cave contains a ring of seven figures around a central statue. Its reward is three gold bars. Use the cave-entrance image and map to locate the approach; the cover image at the end of this guide is only an illustration of the game.
The solution: identify finger totals
Activate the figures whose complete finger totals are 2, 3, 5, and 7, leaving the others inactive. The seven-finger figure is damaged: include the fingers on its detached arm when identifying it. A rear button lets you undo an incorrect selection. This numerical identification, corroborated by Prima Games, is clearer than instructions such as “third on your right,” which change meaning when the camera or character turns.
The mathematical idea is simple: these four numbers are prime. A prime number has exactly two positive divisors, itself and one. Four, six, and eight do not meet that rule. You do not have to solve a separate arithmetic calculation for each button; you need to identify the correct figures consistently and keep track of the ones already selected.
Use a deliberate checking method
Before pressing anything, make one slow circuit of the room. Choose the entrance as a fixed reference point and note which figure has each relevant total. This observation pass prevents a common mistake: counting a statue, walking around it, then treating it as a different statue from the new angle.
For the damaged figure, look for the missing piece before writing down a final total. A visible hand is not necessarily the whole clue. Once you are satisfied with the identification, make a short four-entry checklist and activate one target at a time. Pause after each interaction. There is no benefit to rushing across the room and losing track of which controls changed state.
If the centre stays closed
Check the state of the non-target figures before changing your entire solution. An extra active button can matter just as much as a missing correct one. If you have lost track, use the rear controls to return mistaken selections to their default state, then repeat the four-target checklist from a known starting point.
Do not interpret a failed first attempt as a requirement to revisit every clue location. First check the simpler explanations: the damaged figure was miscounted, one interaction did not complete, or an earlier experimental button remains active. Keeping a written state list makes those possibilities visible. Change one suspected error, observe the result, and only then make the next correction.
Confirm the reward, then leave
When the central compartment opens, approach it and collect the contents deliberately. Confirm the valuables in your satchel rather than relying only on the opening sound. Mark the cave complete and make your next travel plan outside the narrow interior. If you are documenting the route for yourself, an entrance screenshot and your four-number checklist are enough; you do not need to reproduce every image of the room to remember the solution later. Identify the damaged figure by its total, not merely its silhouette.

Continue your RDR2 route
- RDR2 Train Wreck Gold: Climb to the Two Gold Bars
- RDR2 Jack Hall Gang Treasure: All Three Route Stages
- RDR2 High Stakes Treasure: Waterfall, Lagoon and Cliffs
Source reference: TposeGaming. Written as a practical Story Mode guide. Planning recommendations are GameThrum editorial guidance; no firsthand playtest is claimed.
Additional route references: tips


