When this treasure becomes relevant
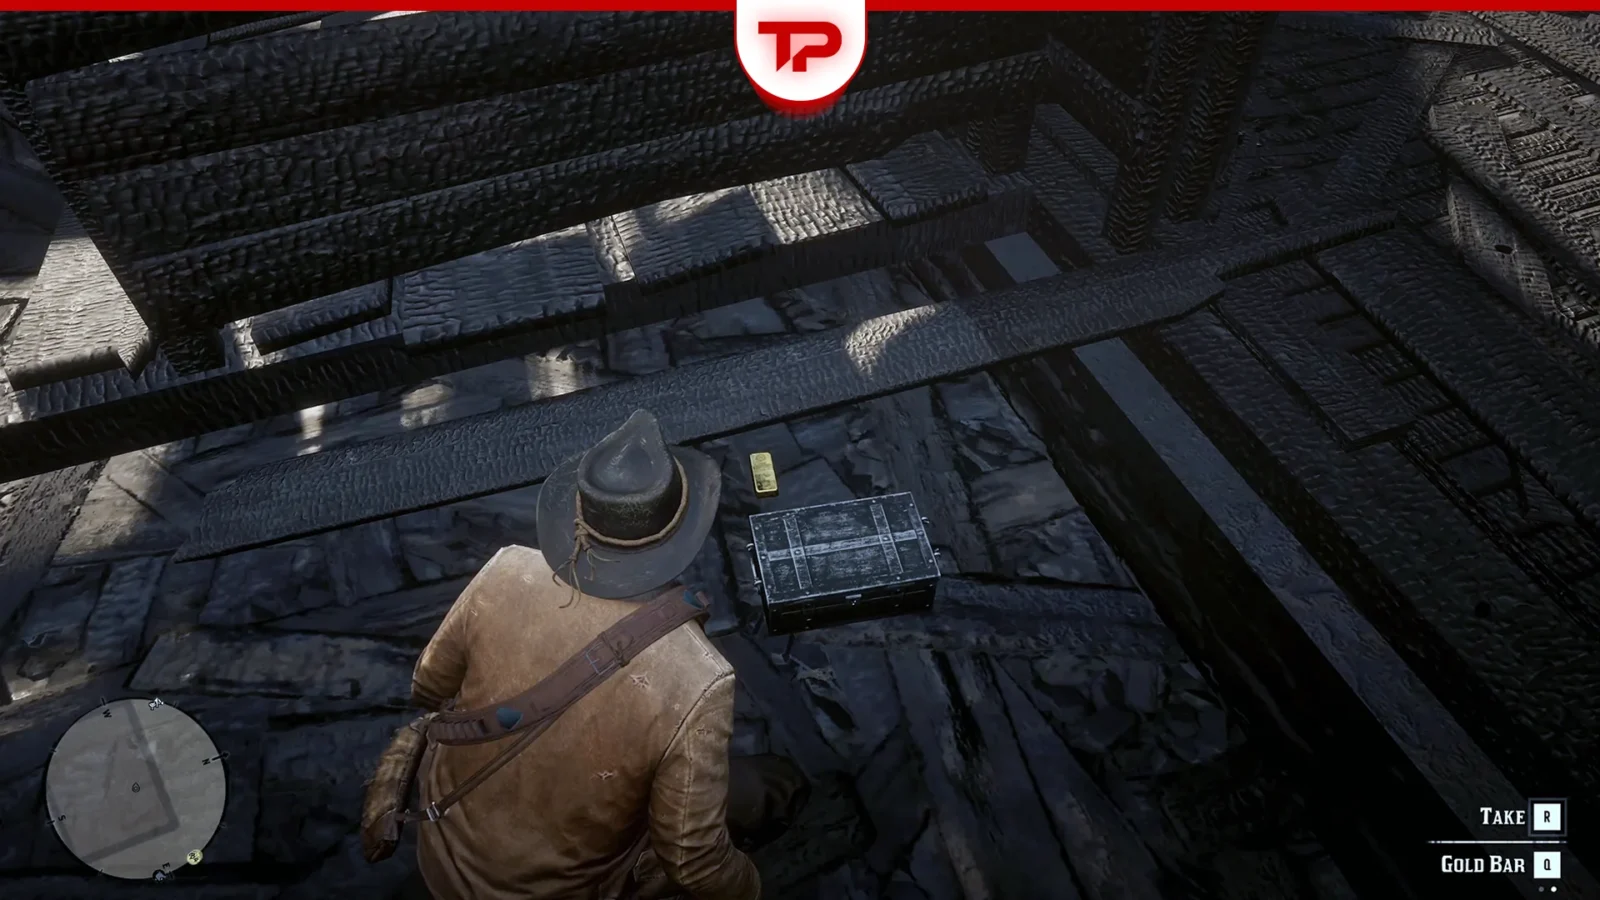
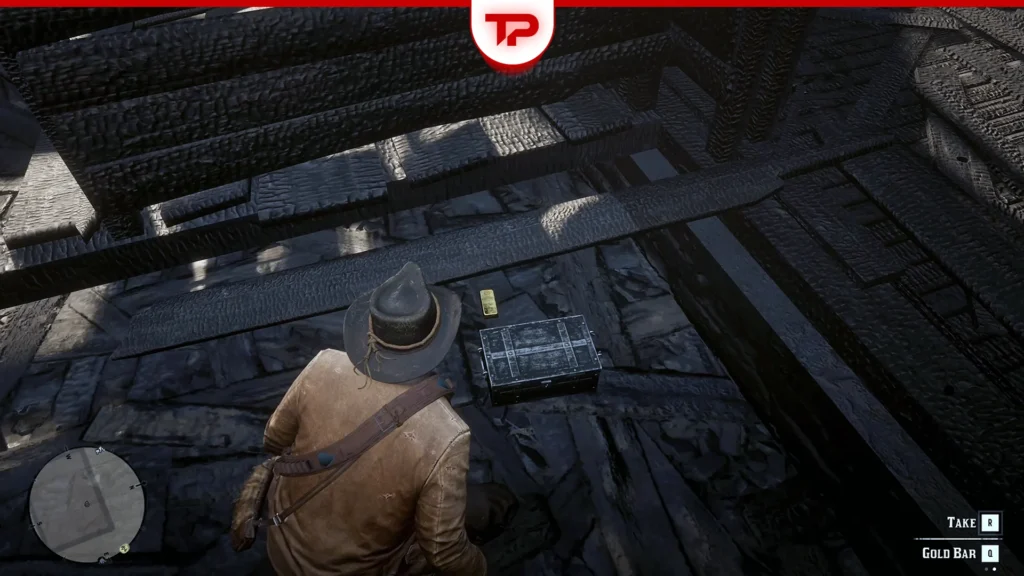
This route contains a location spoiler for the end of Chapter 3. Return to the ruined Braithwaite Manor south of Rhodes after that chapter. In the northwest part of the remains, a lockbox beside Catherine Braithwaite’s body holds one gold bar. Her brooch is a separate nearby collectible. The bar sells to a Fence for $500. Stop reading here if you have not reached the ruined-manor stage and want to discover the story naturally.
Separate story progress from navigation
The first question is not which corner to search, but whether your current save shows the right state of the property. A guide written for a ruined building will not match an intact one. Check the chapter and what is actually on screen before comparing furniture positions or screenshots. This avoids spending time hunting for a container in scenery that has not changed yet.
Once the manor matches the described state, establish north on the map and enter the northwest part of the ruins. Do not rely on the direction Arthur is facing when a screenshot loads. The same interior can look completely different when approached from the opposite side. Use the outer boundary of the building as your reference, then search inward.
Search the box and the nearby item separately
Approach each interaction slowly and let its animation finish. The treasure container and the nearby collectible are not one combined pickup. Check the prompt you are accepting rather than repeatedly pressing the same button while moving. A clear camera angle also helps you distinguish the floor, the box, and surrounding debris.
After collecting the reward, inspect the valuables section of your satchel. If you are keeping a completion list, record the bar and the brooch as two separate entries. That small distinction is helpful when revisiting an old save: remembering that you searched the body does not tell you whether you opened the lockbox, and remembering the gold does not prove you collected everything nearby.

Do not make the route depend on a glitch
A first collection is easier to document than an indefinite respawn claim. If the box is empty, check whether this save already completed the stop and whether the item is already in your inventory. Do not immediately begin alternating saves and reloads, because that can make it harder to remember what happened in each save.
If you choose to experiment with duplication claims, keep a separate backup and record the exact game version. Such an experiment is outside this route. A practical budget should count the confirmed first reward and leave any repeat pickup out of the calculation. This keeps your next equipment decision independent of behaviour that may differ between installations or patches.
Before you leave Rhodes
Choose whether to sell the bar on this trip or simply continue exploring. Either choice is reasonable; what matters is verifying that the reward is safely recorded before leaving the area. Clear the location from your active checklist, retain a save with the completed pickup, and mark a different destination. If you only wanted the straightforward treasure, there is no need to remain at the manor waiting for another container to appear. Keep the chapter requirement attached to your saved route note.

Continue your RDR2 route
- RDR2 Strange Statues: Cave Location and Puzzle Solution
- RDR2 Train Wreck Gold: Climb to the Two Gold Bars
- RDR2 Jack Hall Gang Treasure: All Three Route Stages
Source reference: TposeGaming. Written as a practical Story Mode guide. Planning recommendations are GameThrum editorial guidance; no firsthand playtest is claimed.


